Contributed by Steve Klein & Tara Bush
I can’t be the only one who has noticed the garage in the background of a car magazine or while watching TV and marveled at the space to work and how organized and clutter free it was. I can’t be the only one who thought- “If my garage was like that, I could do all sorts of projects.” I can’t be the only one whose garage was packed with boxes, bikes, old [broken] parts that were taken off the car, but kept around “just in case.”
After years of imagining. I decided to take the bull by the horns and build out my ideal garage. It wasn’t an easy task, but I can attest the results are worth it. While it may appear daunting, it isn’t impossible if you make a plan and go step by step.
Step 1 – Make a Plan:
The first step for me was to make a plan. Having a vision of the final product helped keep me motivated to deal with the most time consuming and tedious part of the whole project (see step 2).
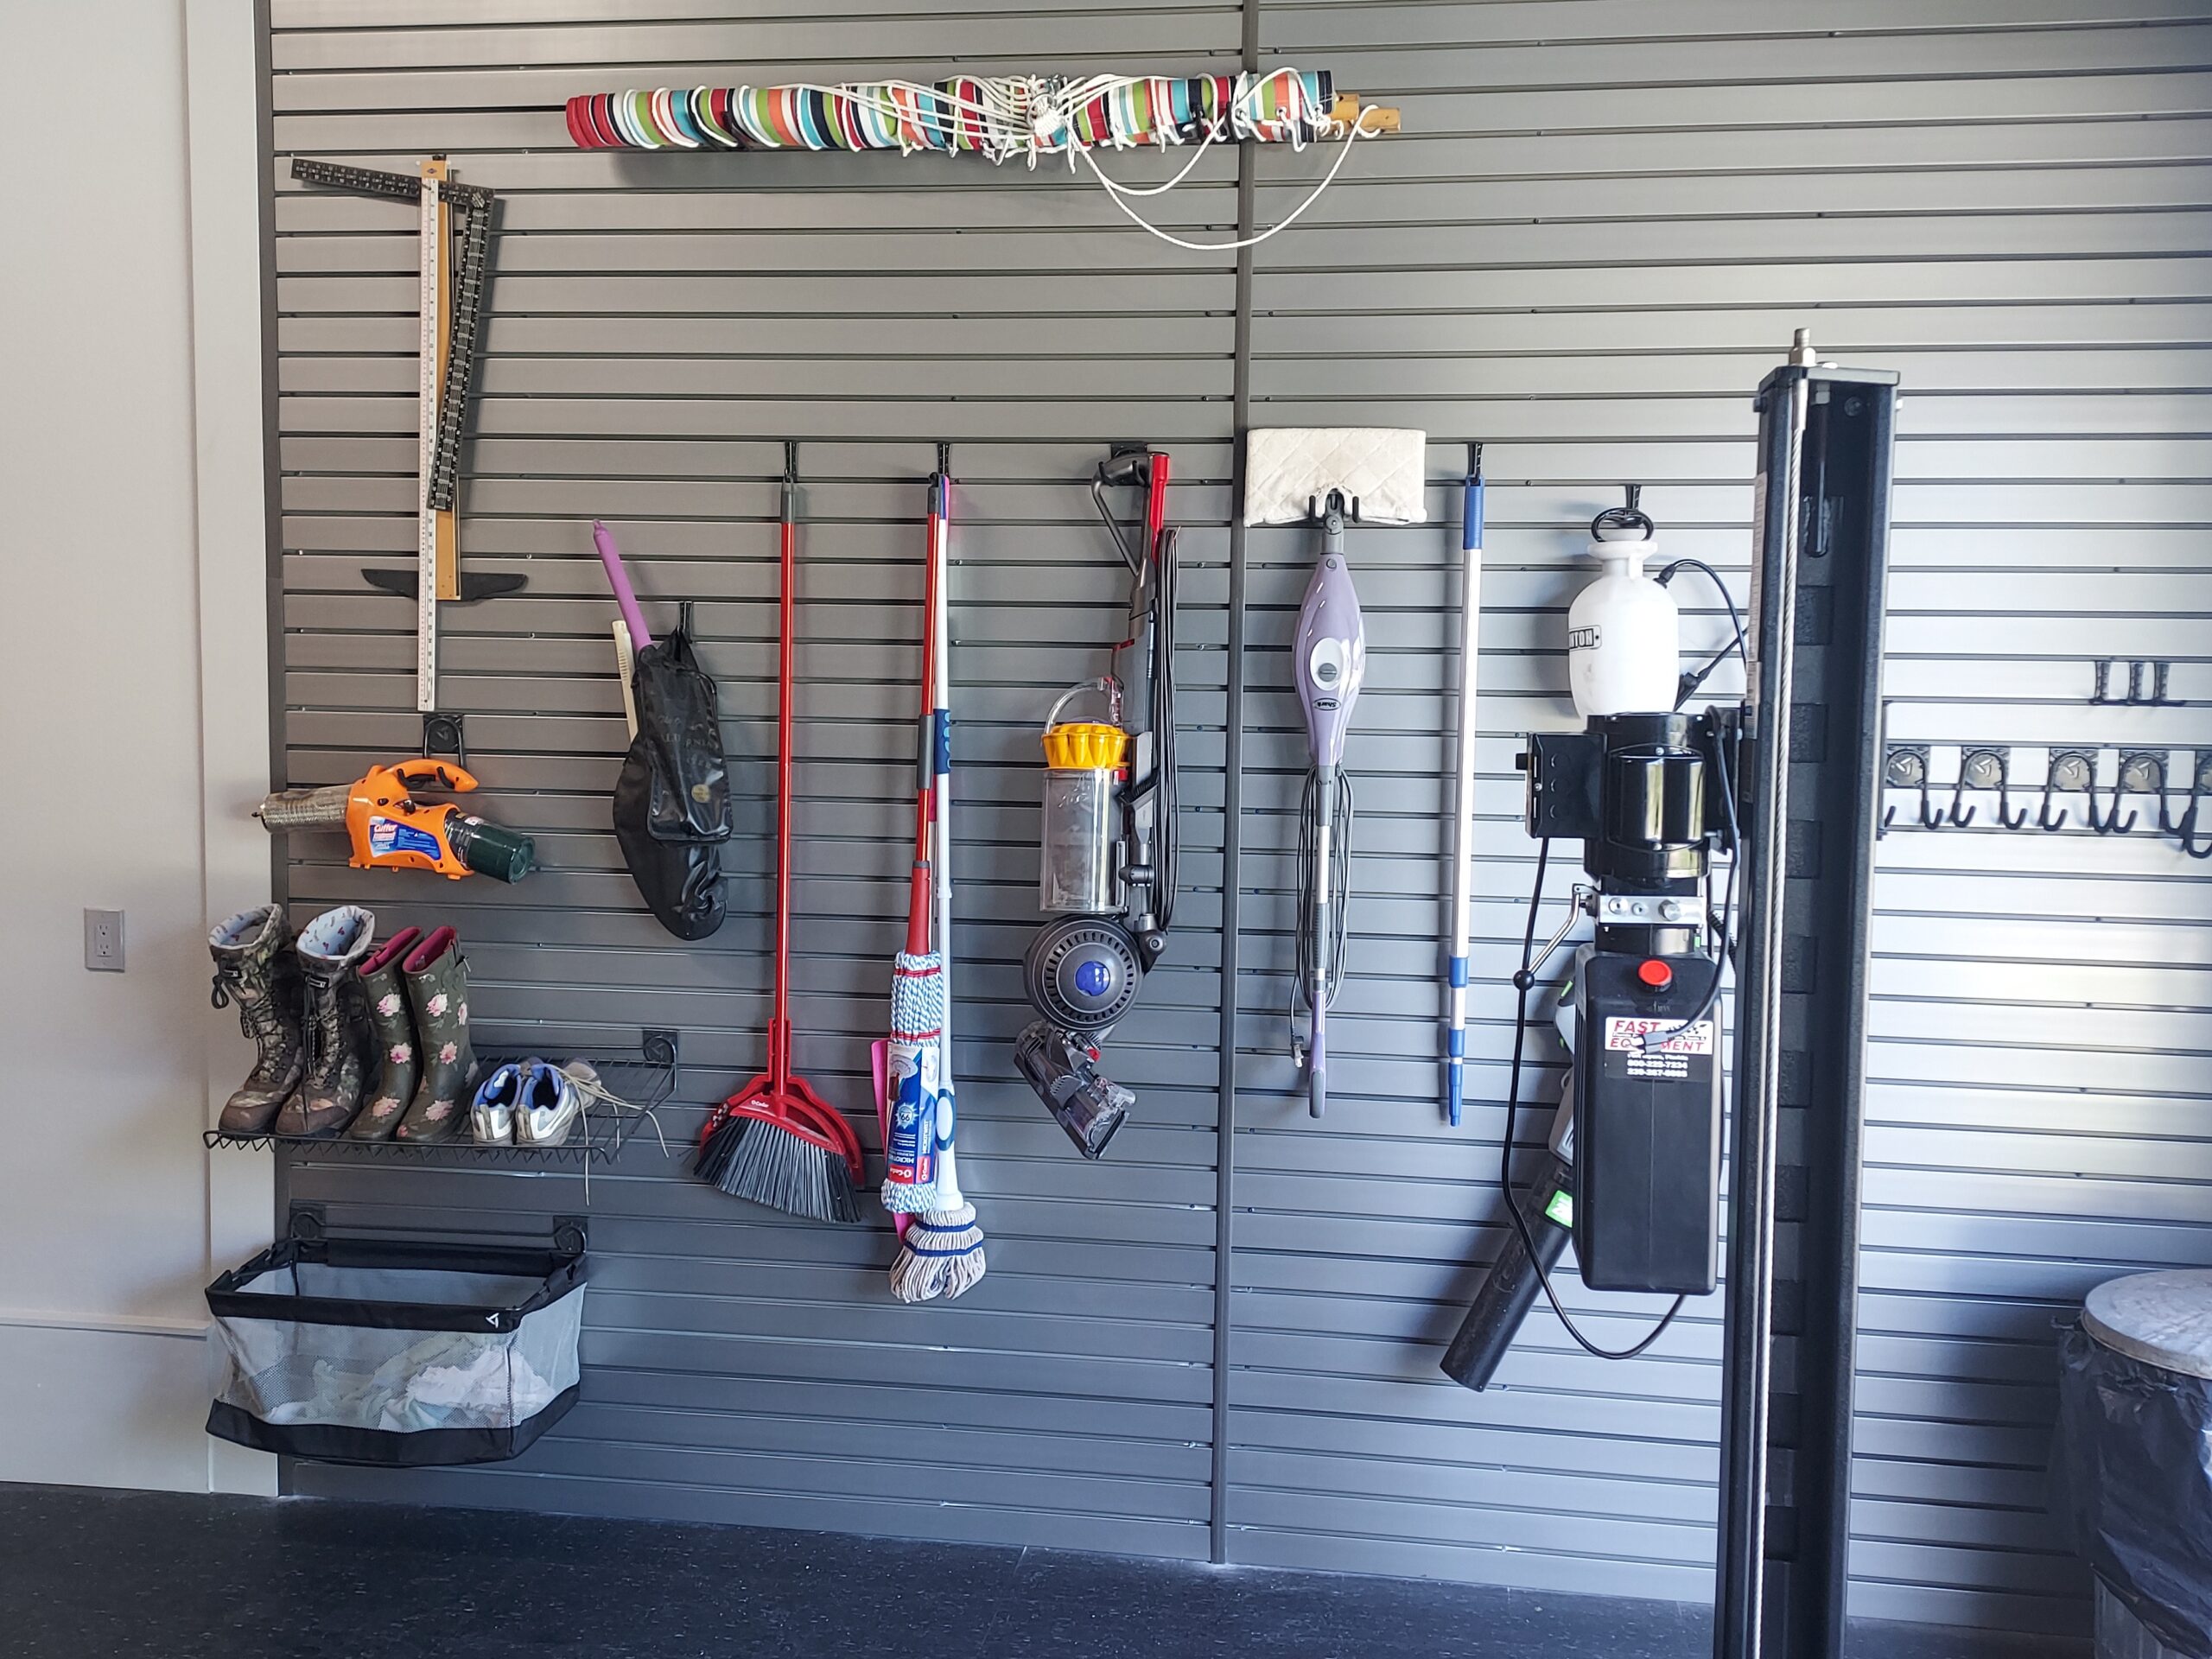
For my plan, I measured the garage and laid its footprint out on some graph paper (you can print free ones from the internet). I knew I wanted lots of drawers as 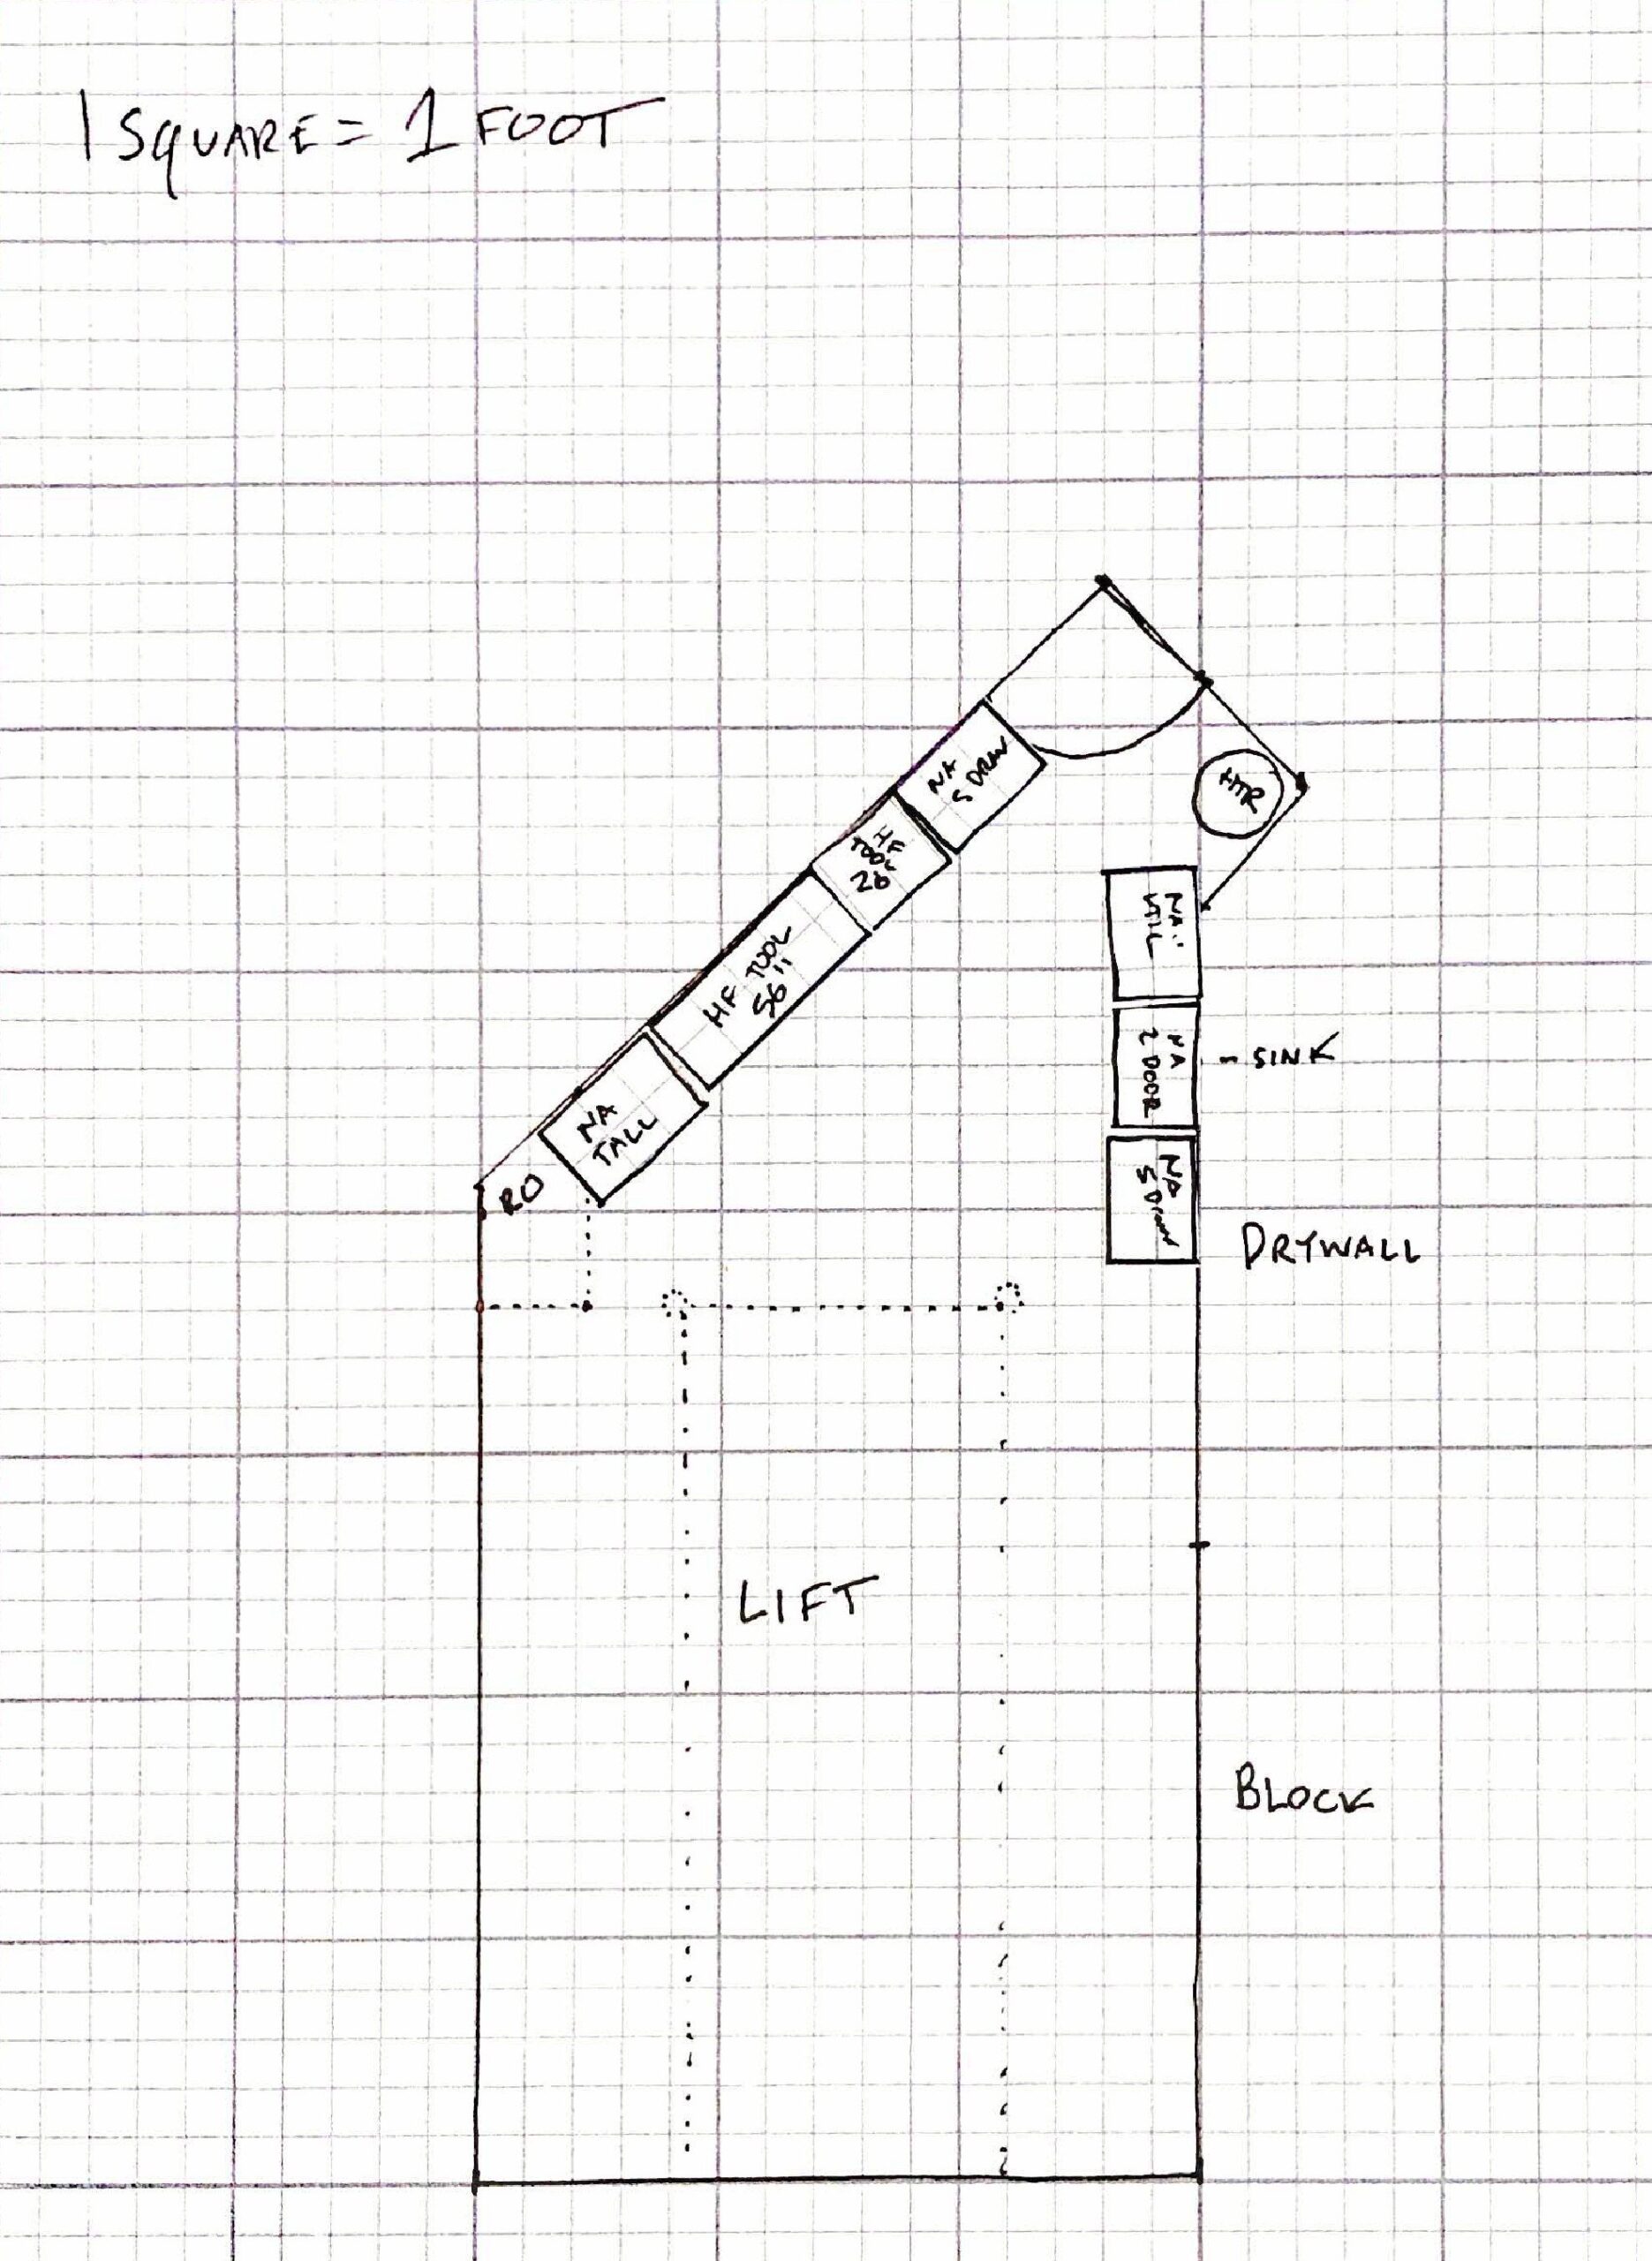 well as vinyl slat walls to hang and organize my larger tools and other items and keep them off the floor. I then reviewed the websites for garage lifts and several cabinet companies and cut out graph paper scale versions. This let me play with various arrangements to see what worked best. I would do a layout, take a picture with my phone and then repeat. Here’s the layout I ended up with:
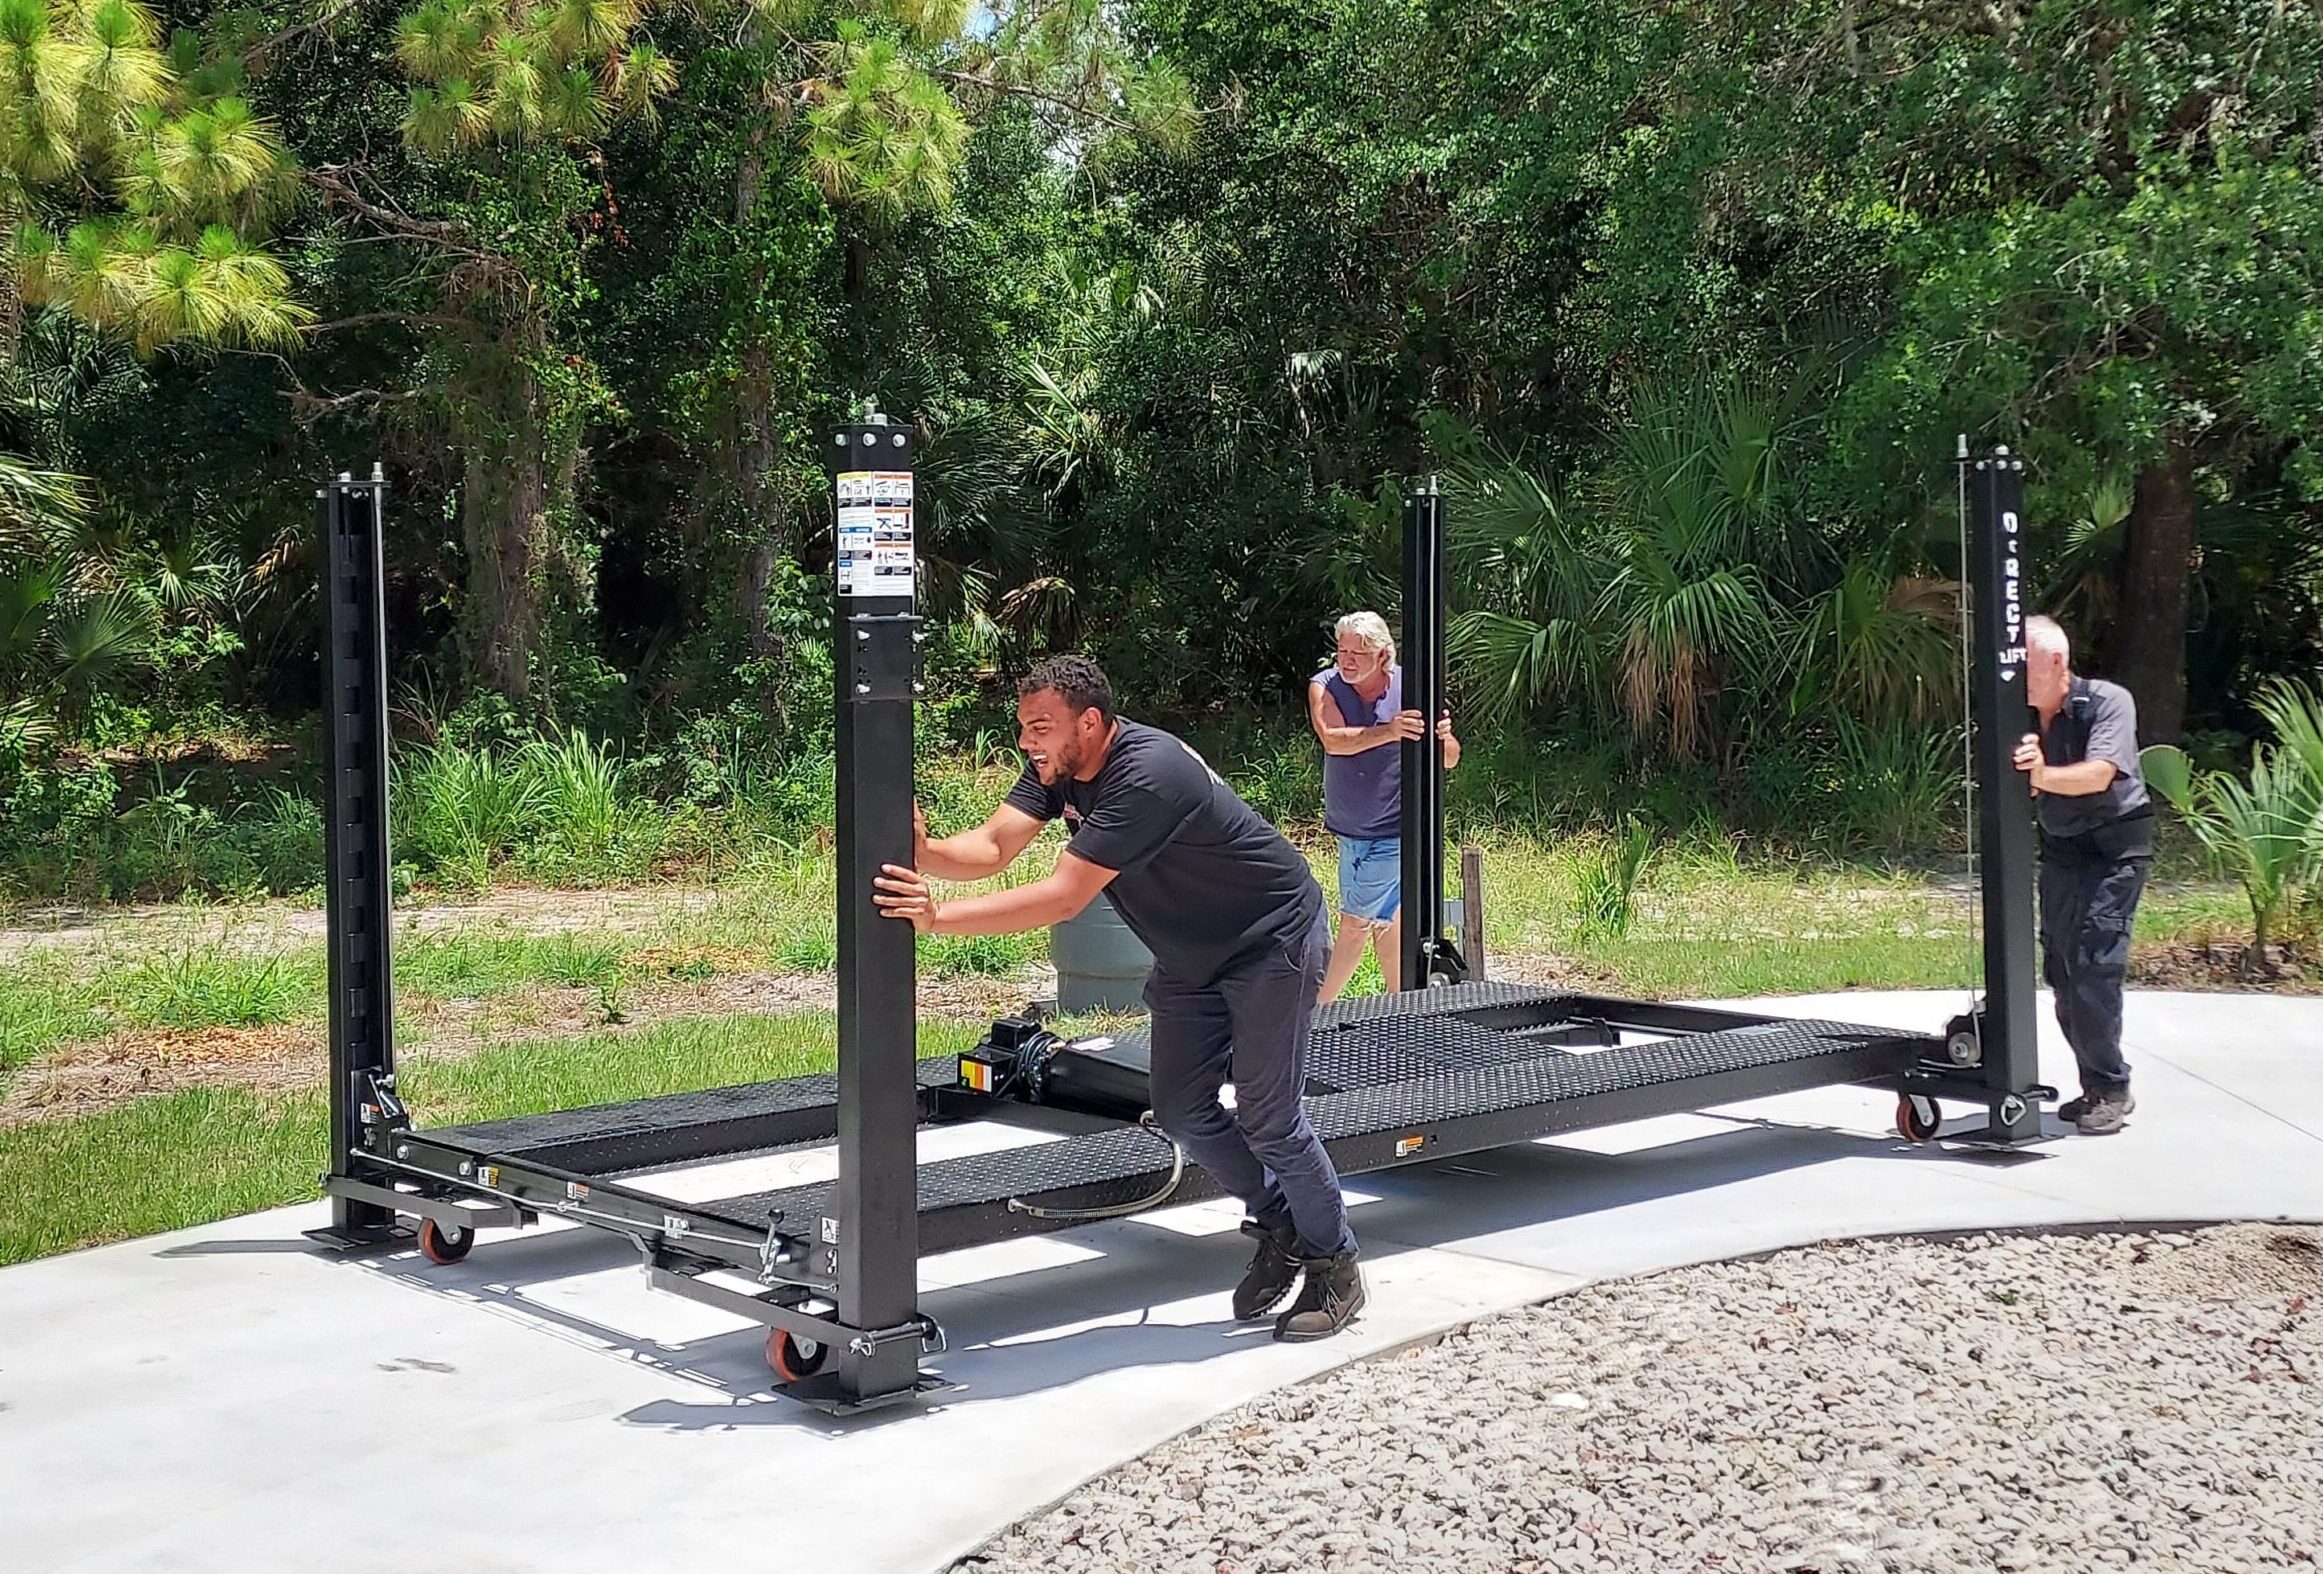
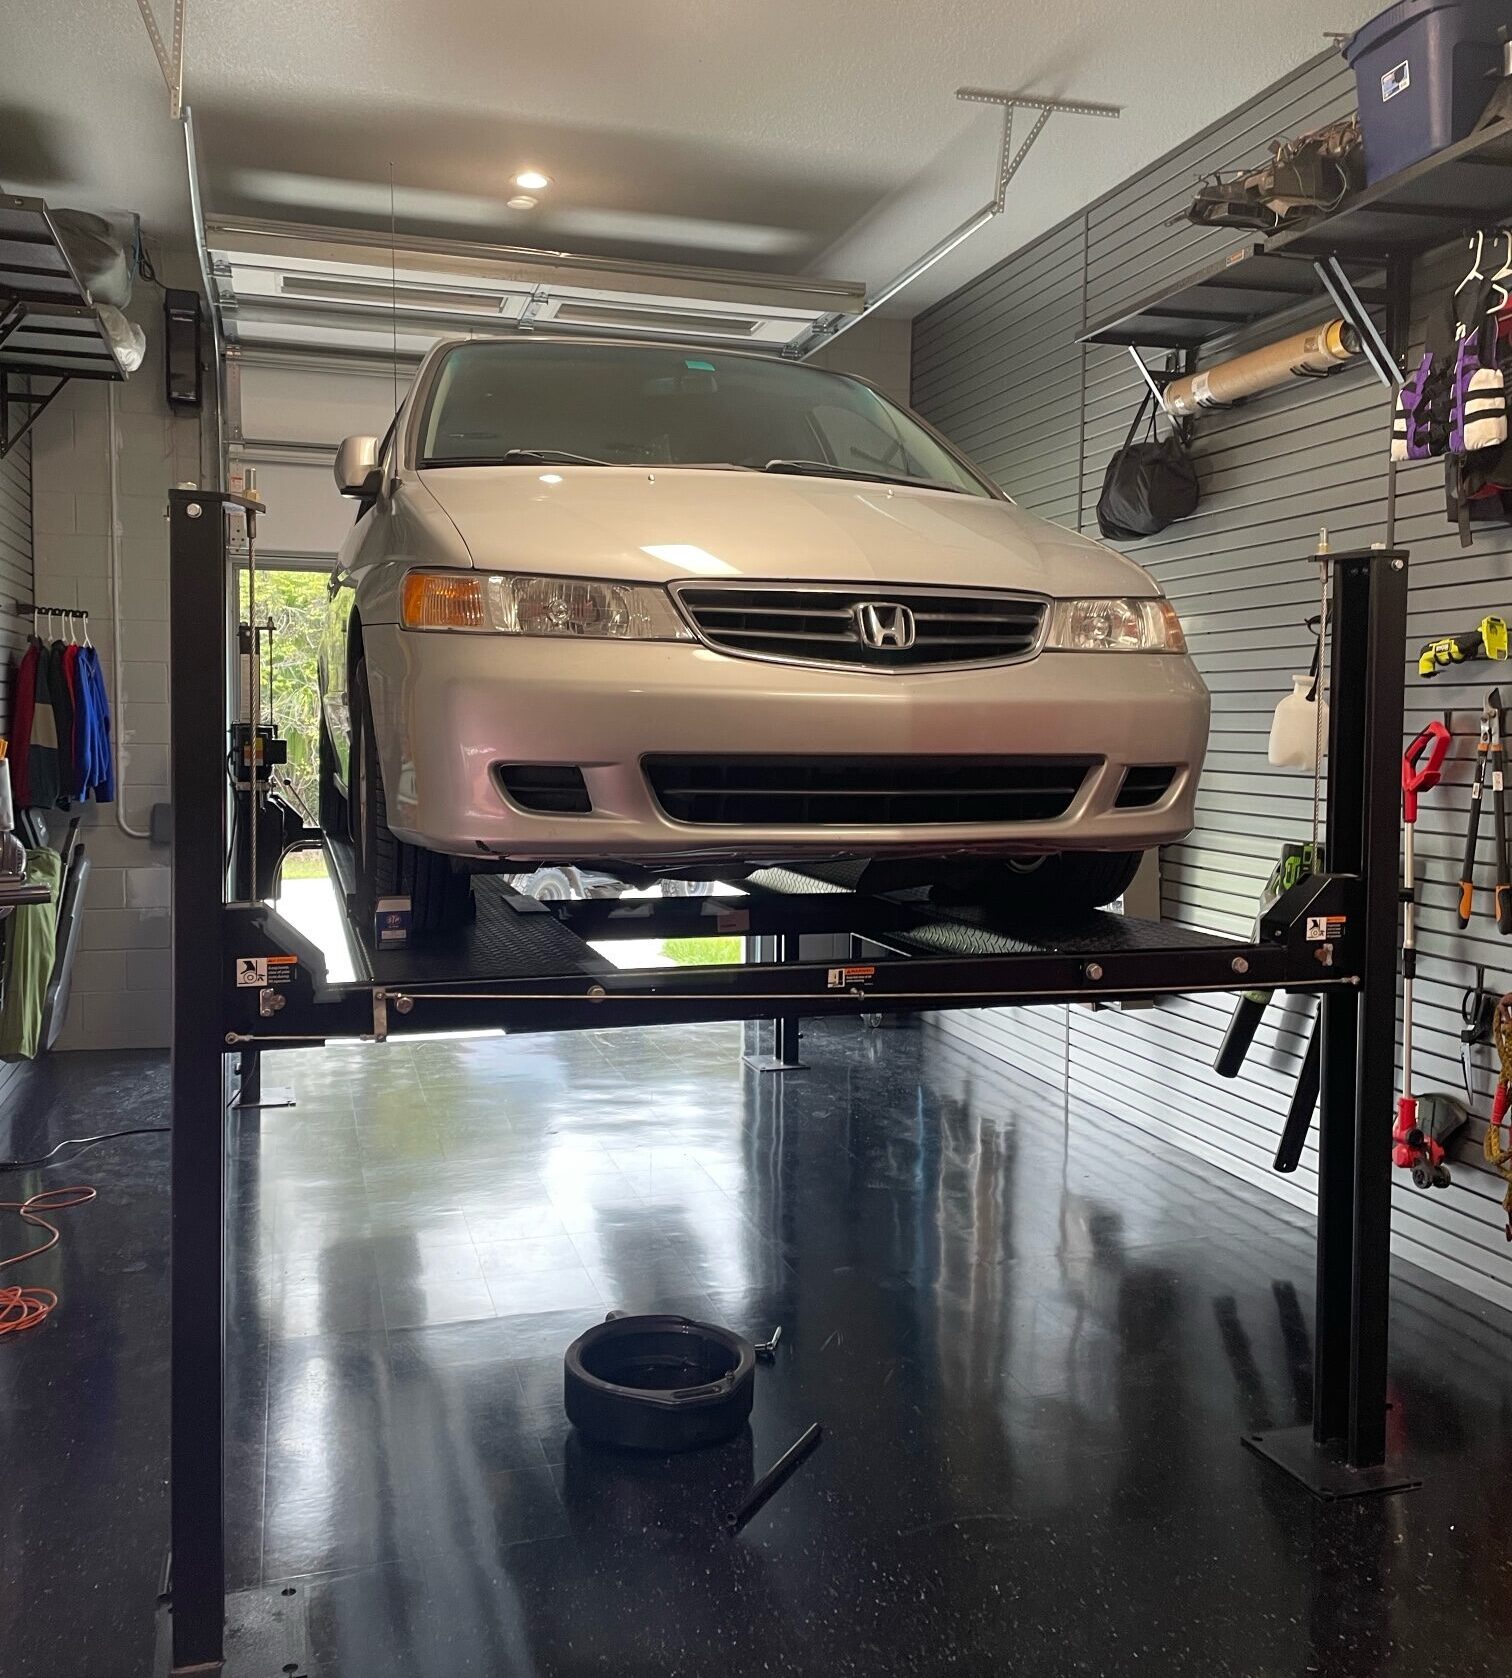
For ease of use, I decided to go with a 4-post drive-on lift with a bridge jack rather than a 2-post lift. Automotive Machine Advisors in Naples delivered and installed a Direct Lift to me in Central Florida.
Step 1.5 – Order (and wait):
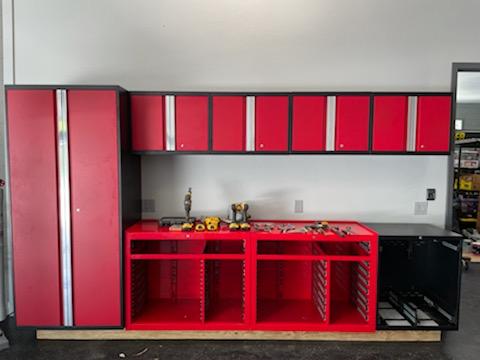
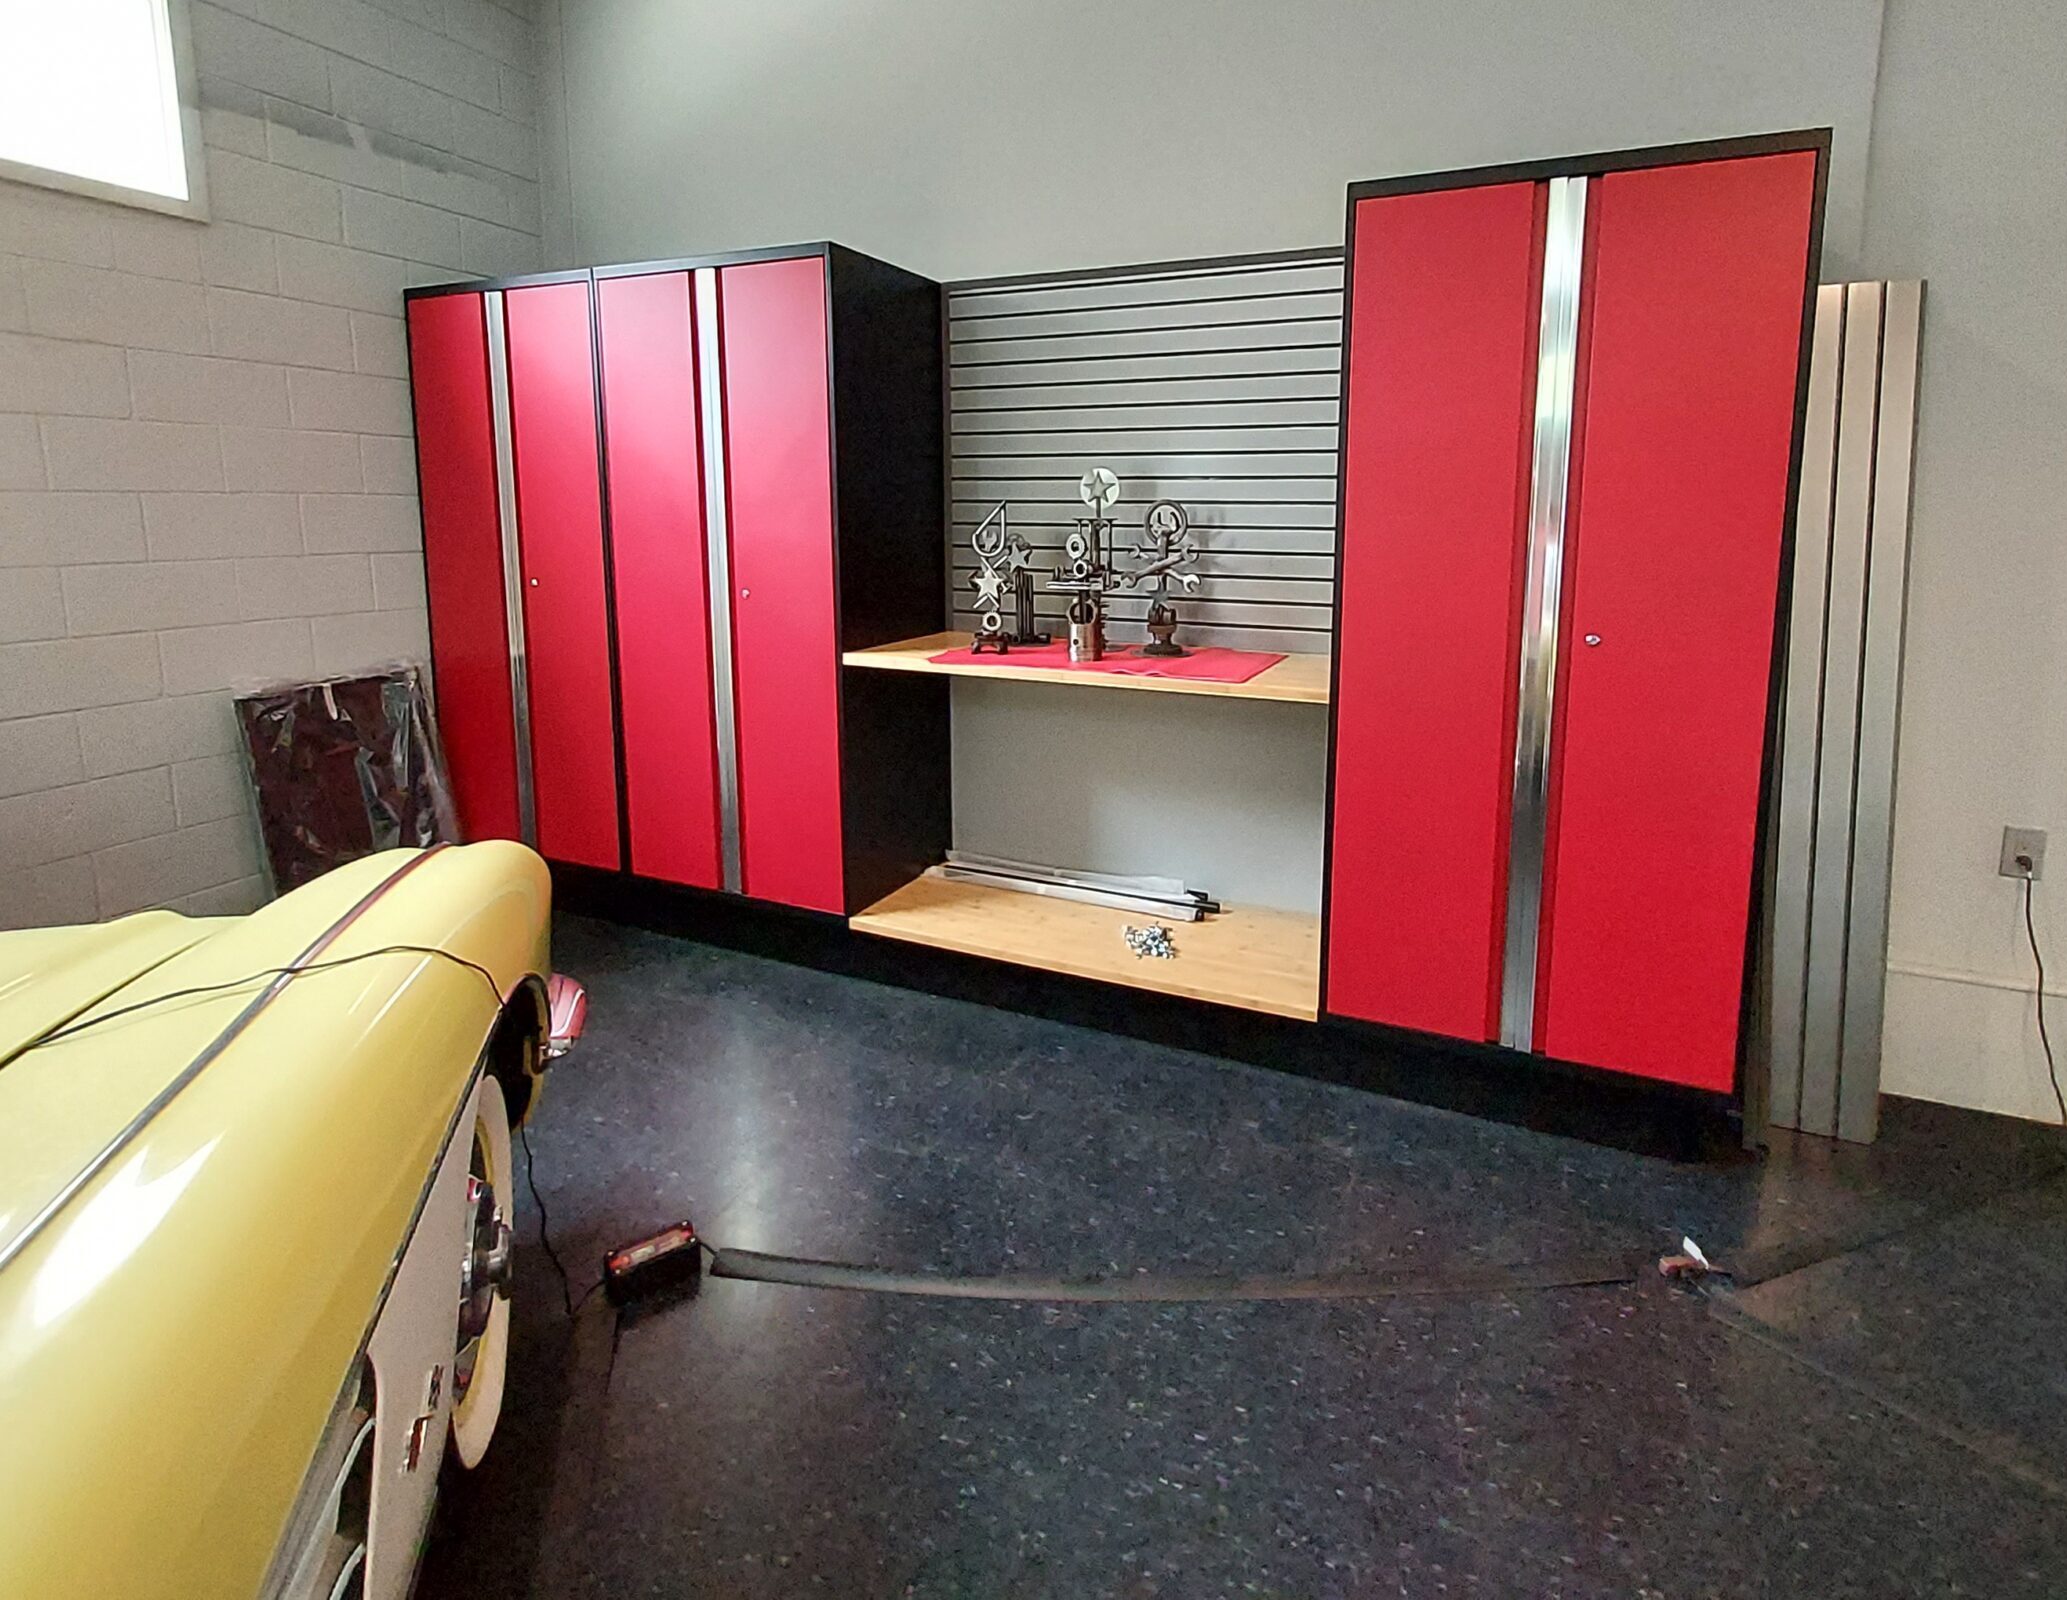
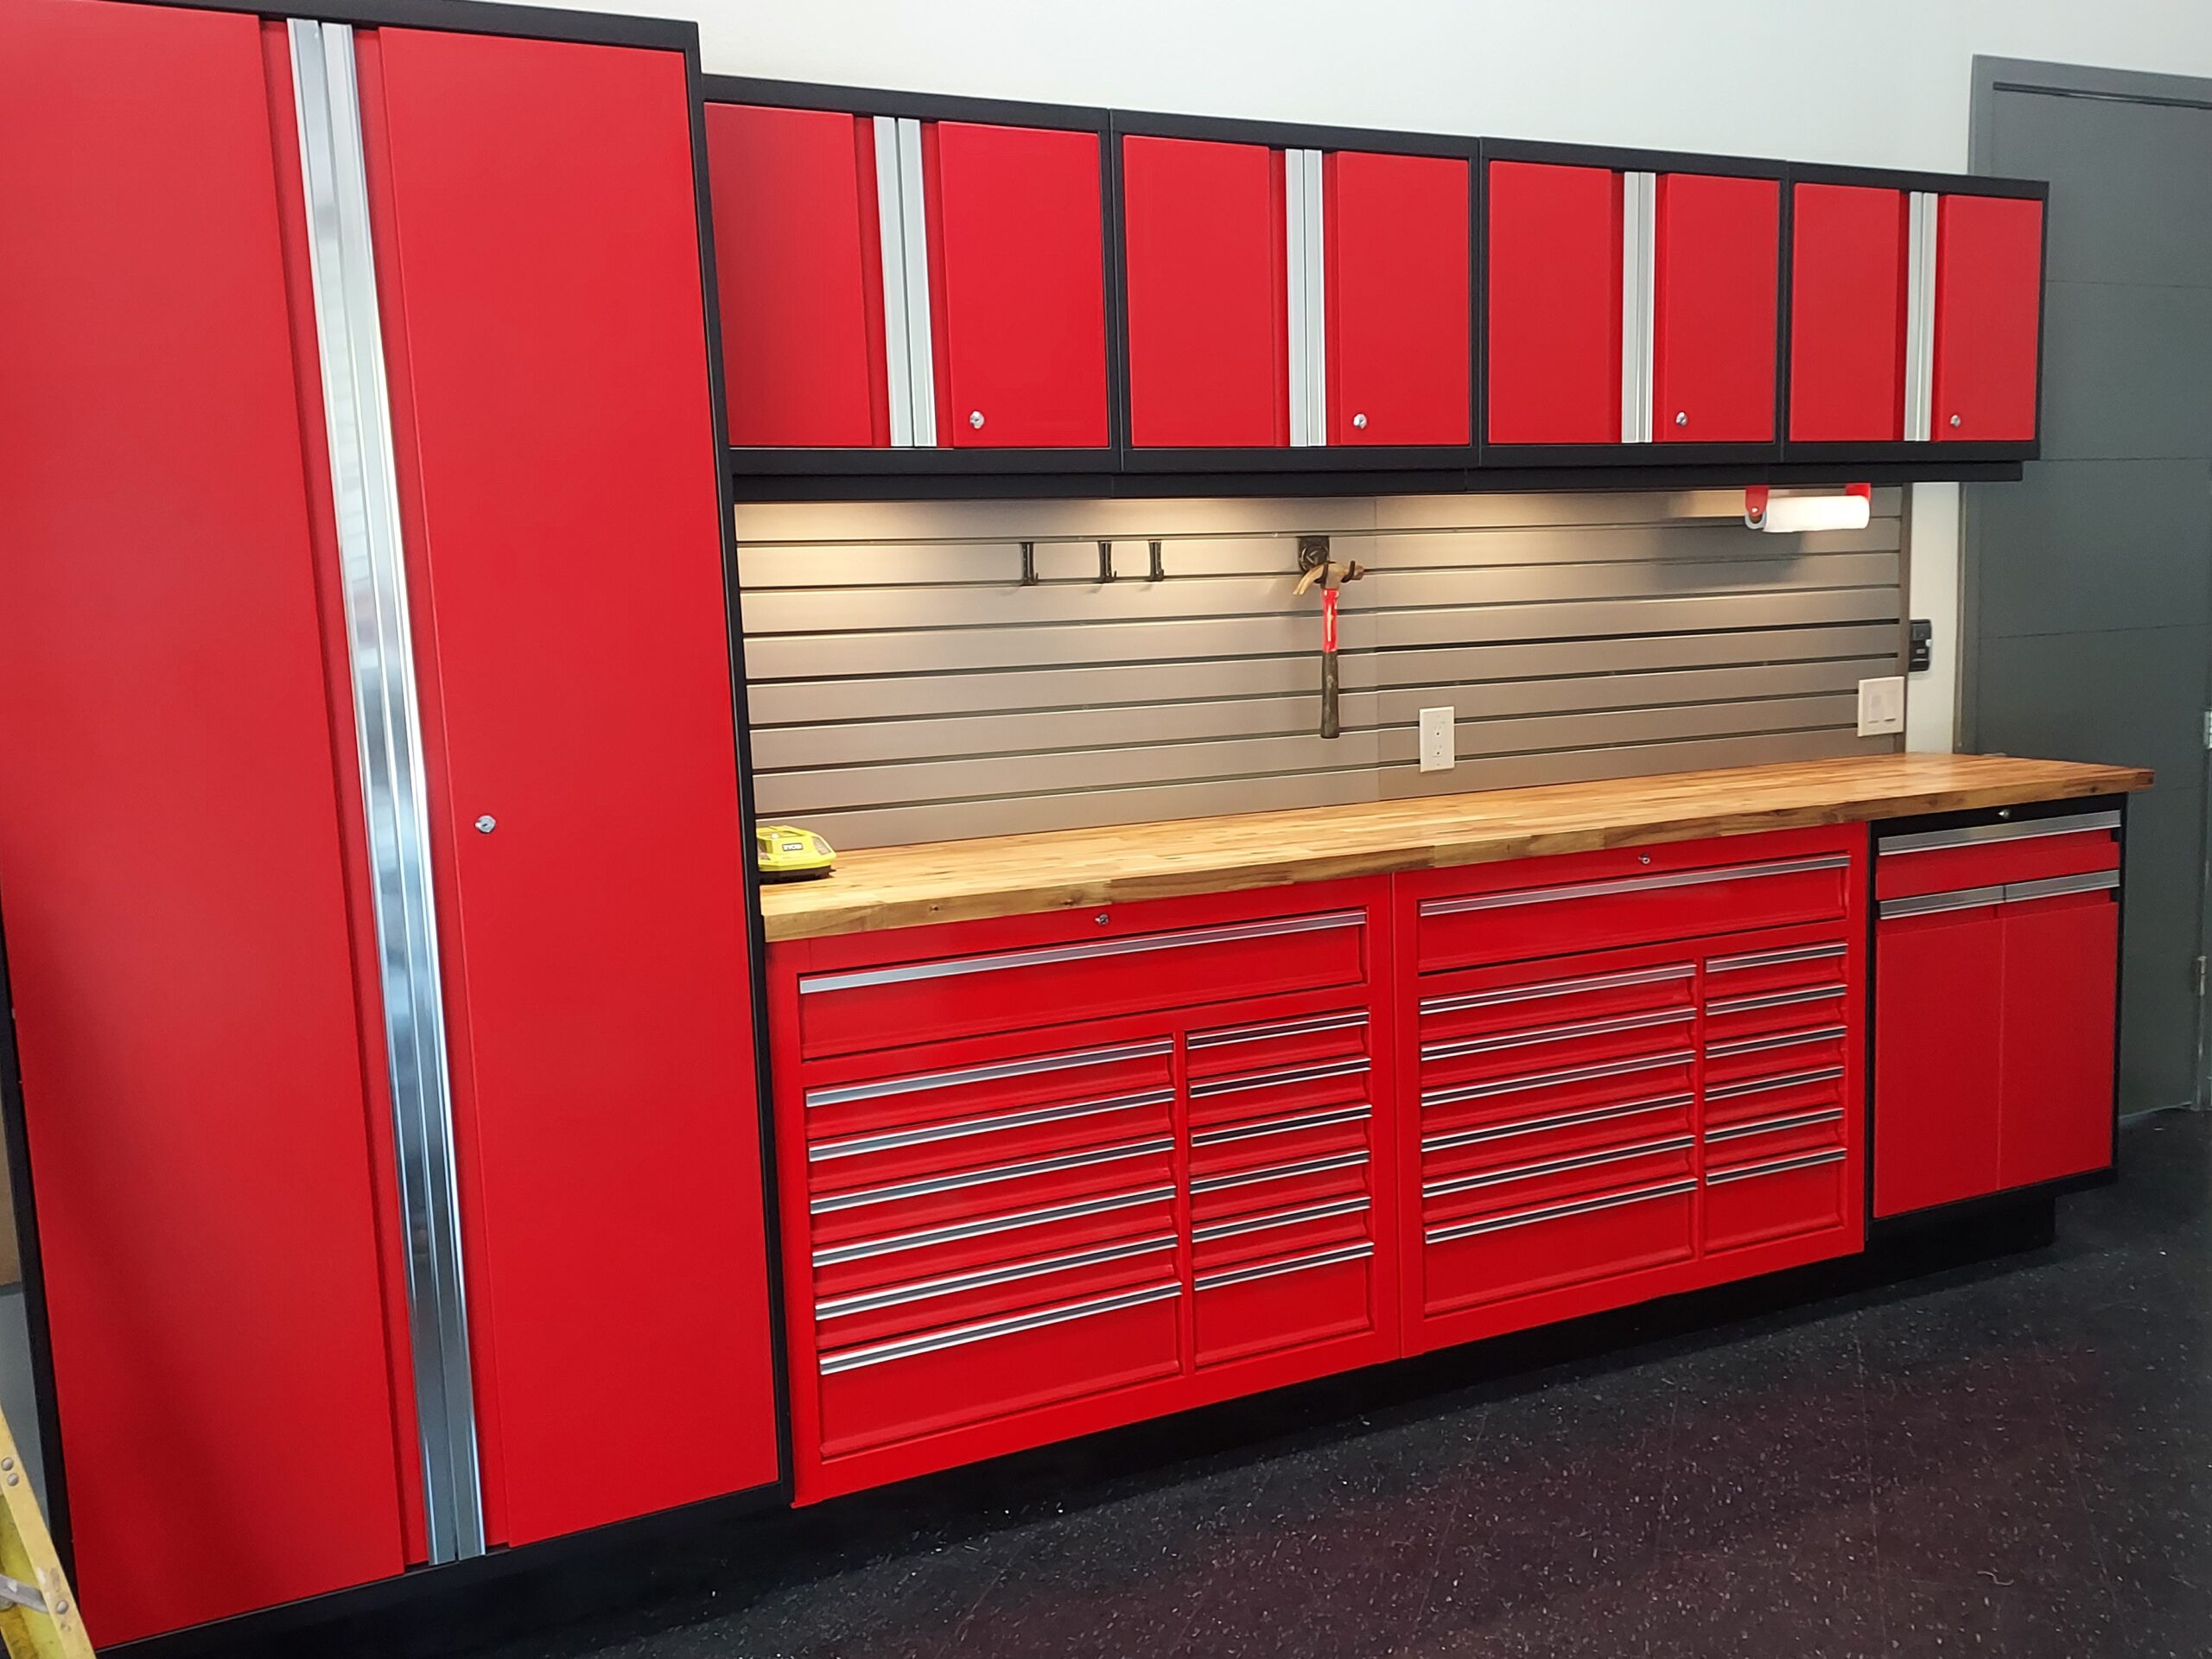
For cabinets, I found a 14 piece set of New Age cabinets on Costco’s website. It came with 4 large lockers (I ended up putting 3 in another room), a set of upper cabinets and a variety of lower cabinets, and LED lights. I also bought 2 red rolling toolboxes from Harbor Freight and worked them into the mix.
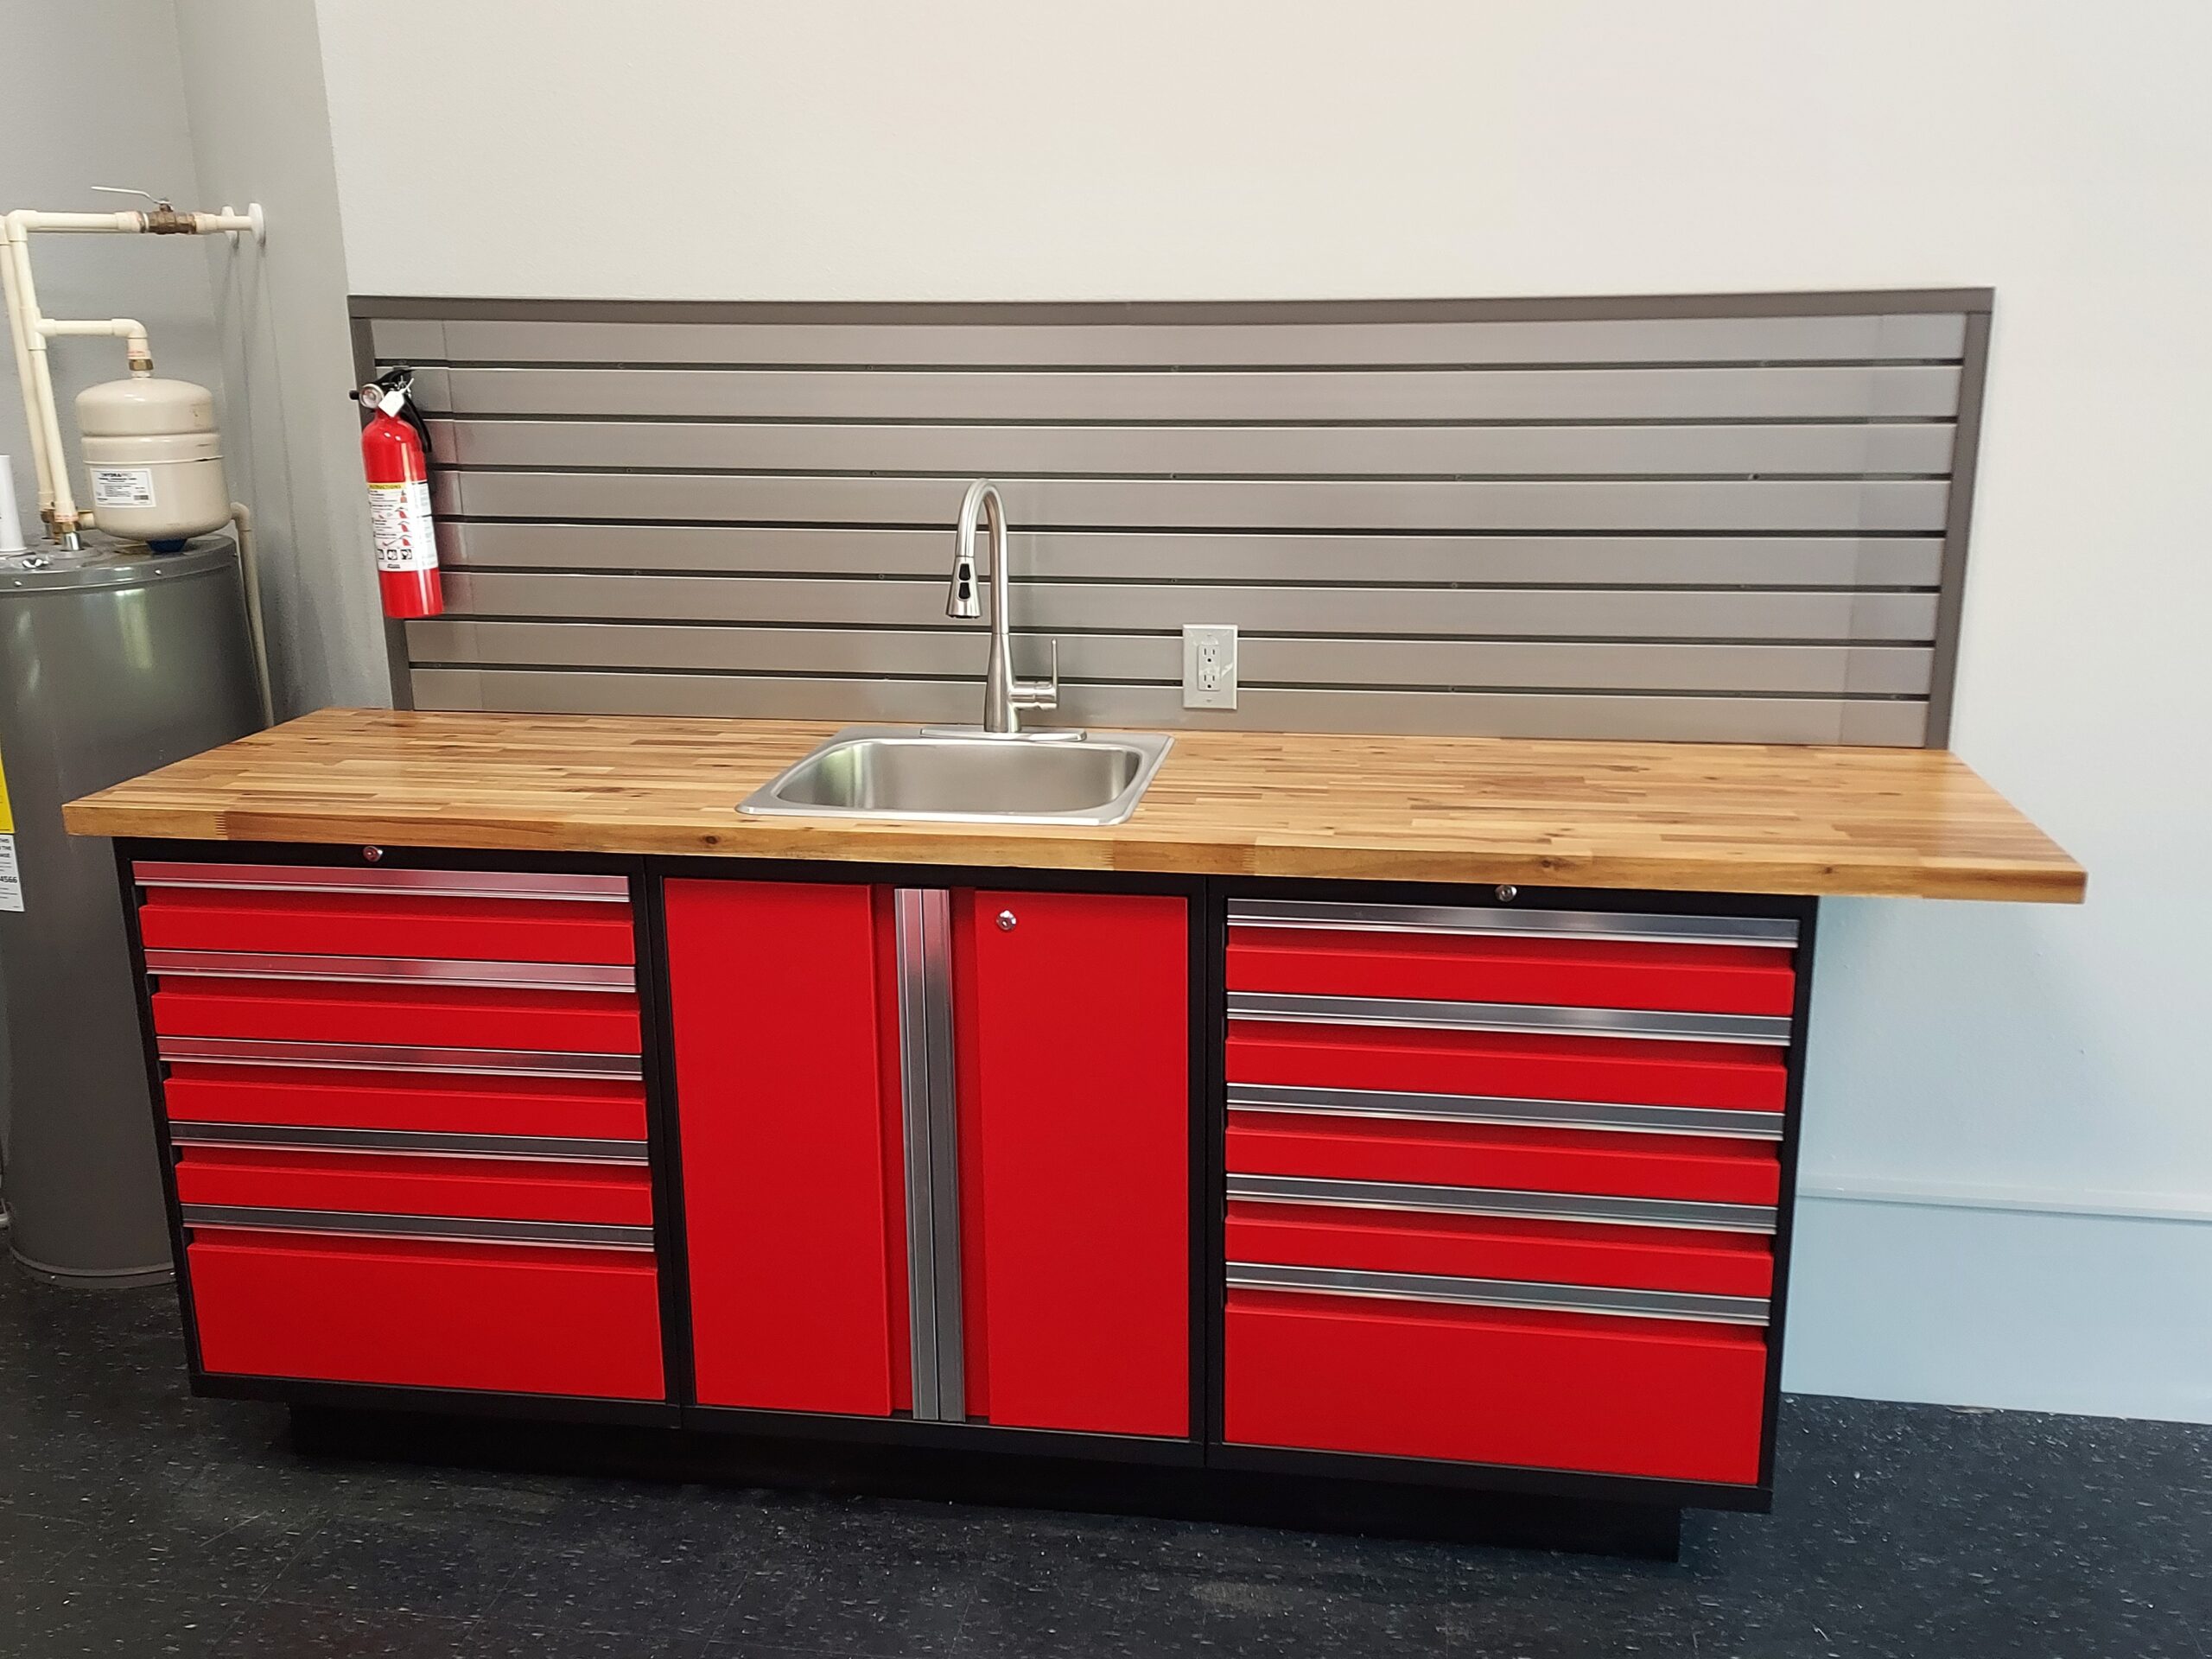
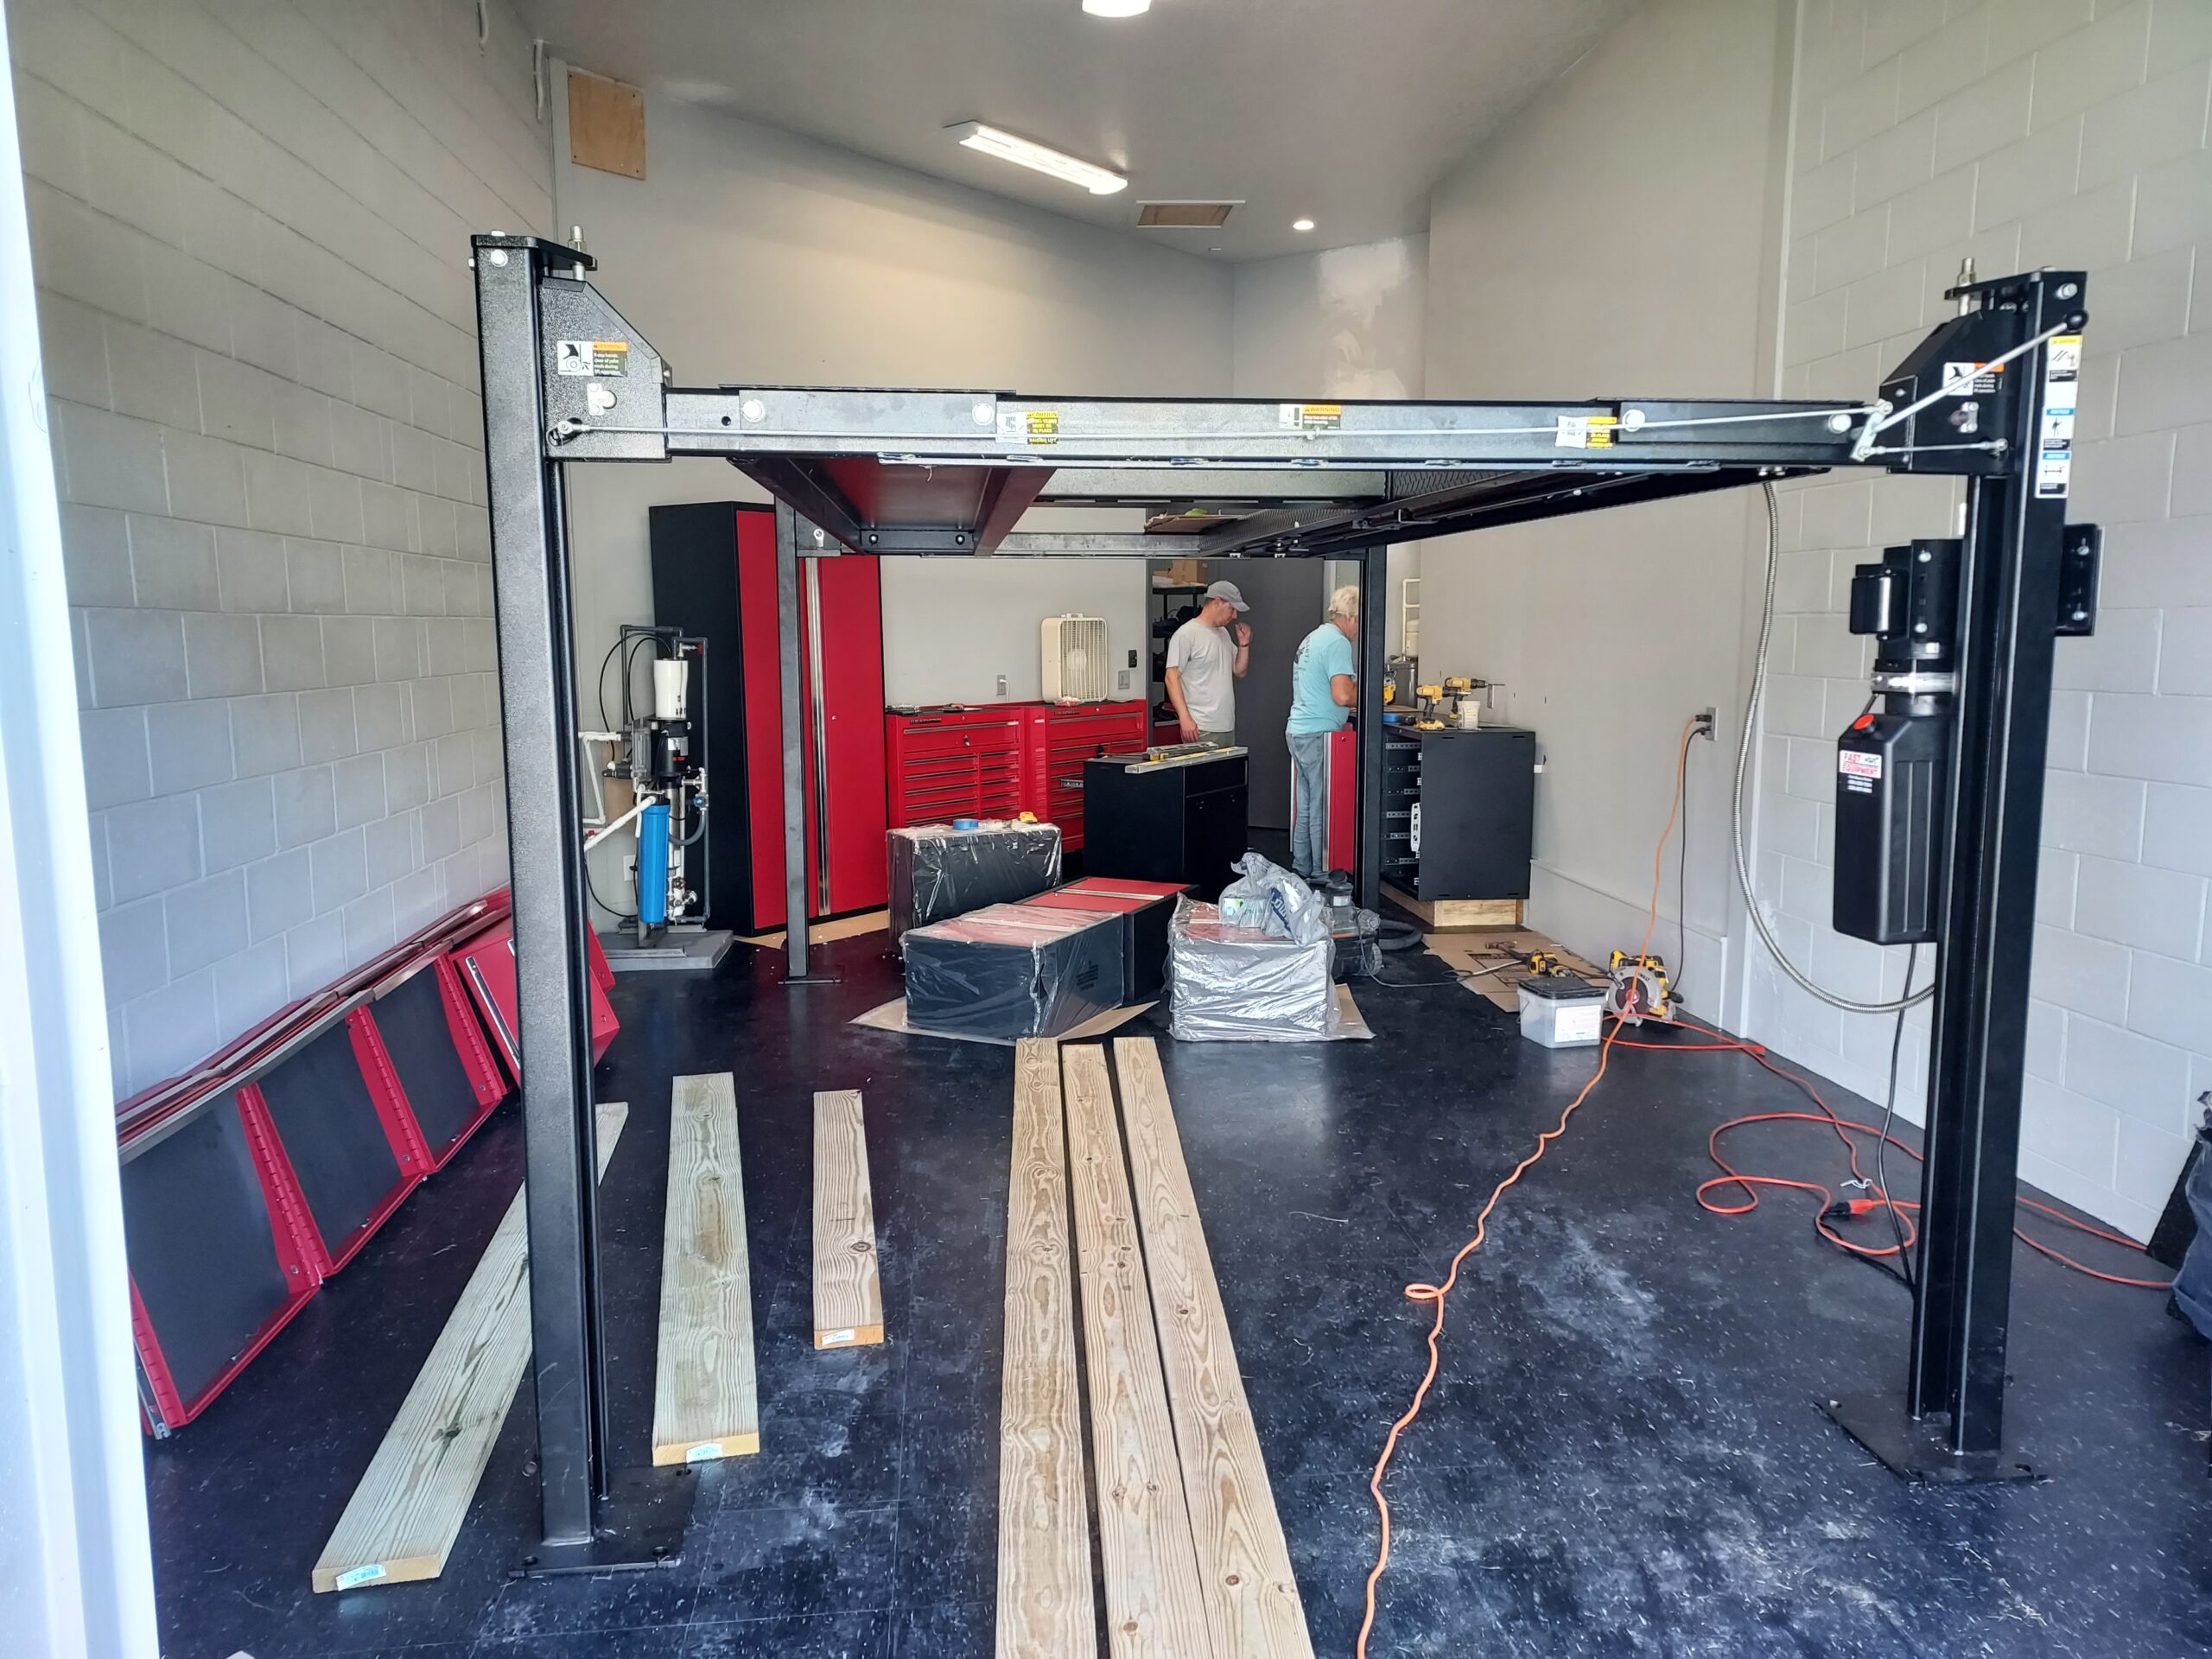 For countertops, I wanted a “seamless” look, so I bought an 8’ and 10’ raw butcher block kitchen tops from the big box hardware store and stained, sanded and polyurethaned them myself. [Note: The New Age package did come with 2 smaller countertops which I turned into shelves for another room].
I ordered slat wall directly from New Age. Their website has a helpful calculator to determine how many boxes to order based on the amount of area you want to cover. Since I embarked on this project earlier this year, I was faced with a slight delay due to COVID’s disruption of the normal supply chain and product availability.
Step 2 – De-Clutter:
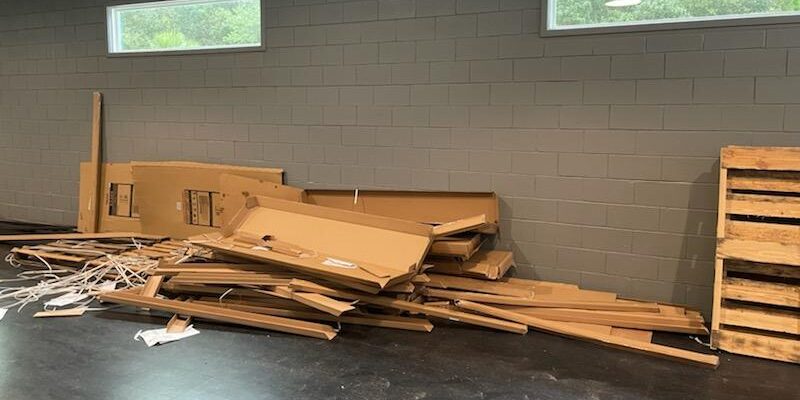
While I was waiting for all of the components to be delivered, I dove into step 2. I began identifying and eliminating extraneous tools (yes, there is such a thing- how do we have six of the exact same wrenches, screwdrivers, sockets, hammers, saws, even multiples of the same obsolete power tool?). I also started identifying and eliminating all of the parts I had accumulated that were never going to be reused. I realized I didn’t need the clunky aftermarket starter that I replaced years ago, the flywheel with a broken tooth, the dented trim I replaced with a bright new set, a random brake master cylinder for a car I don’t own, nor did I need 5 sets of GM 14” rally wheels whose date codes didn’t match my car.
The best way to go through the “declutter” process is to go in small sections and make separate piles- “keep it”; “sell it (eBay/marketplace/online classifieds/garage sale); or scrap it (either trash or metal recycler). If it helps, you can make a “maybe” pile and then re-sort it after the initial sorting is done. On a positive note, if you have date code parts or desirable tools that you no longer need, or even a pile of scrap metal, selling it can offset some of the cost of redoing the garage.
I did my darndest to keep things contained to the garage, but I will admit that the piles spilled into the driveway and into the house.
Step 3 – Clean and Paint:
Once the garage is cleared out, it’s a good time to clean the floors and add some fresh paint if necessary. Speaking of floors, I went with VCT tile, to match an adjoining garage, but there are lots of options from DIY epoxy to snap-together floors such as RaceDeck or similar product. If you are ambitious, you can do patterns as well.
Step 4 – Unpack and Install:
Once everything arrived, we got to unpacking the cabinets and setting them in place. I wanted the appearance of floating cabinets, but with a toe kick so nuts/bolts, tools, and dust-bunny couldn’t roll under them. We built a basic wood framework and covered it with black painted PVC boards for a smooth finish. 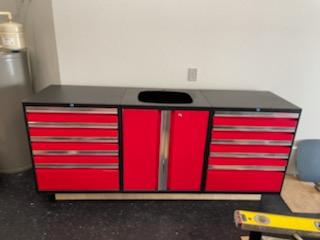 The New Age cabinets can also be hung from the wall or come with feet they can stand on if that floats your boat. We also converted one of the cabinets into a sink cabinet by removing the middle shelf and cutting a hole in the top.
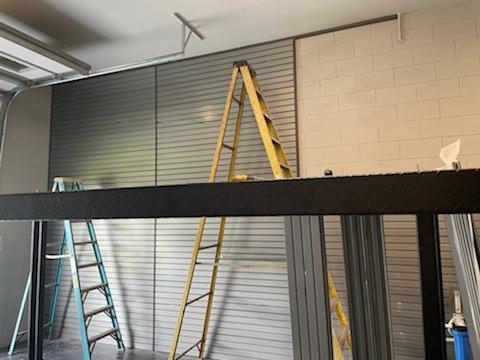
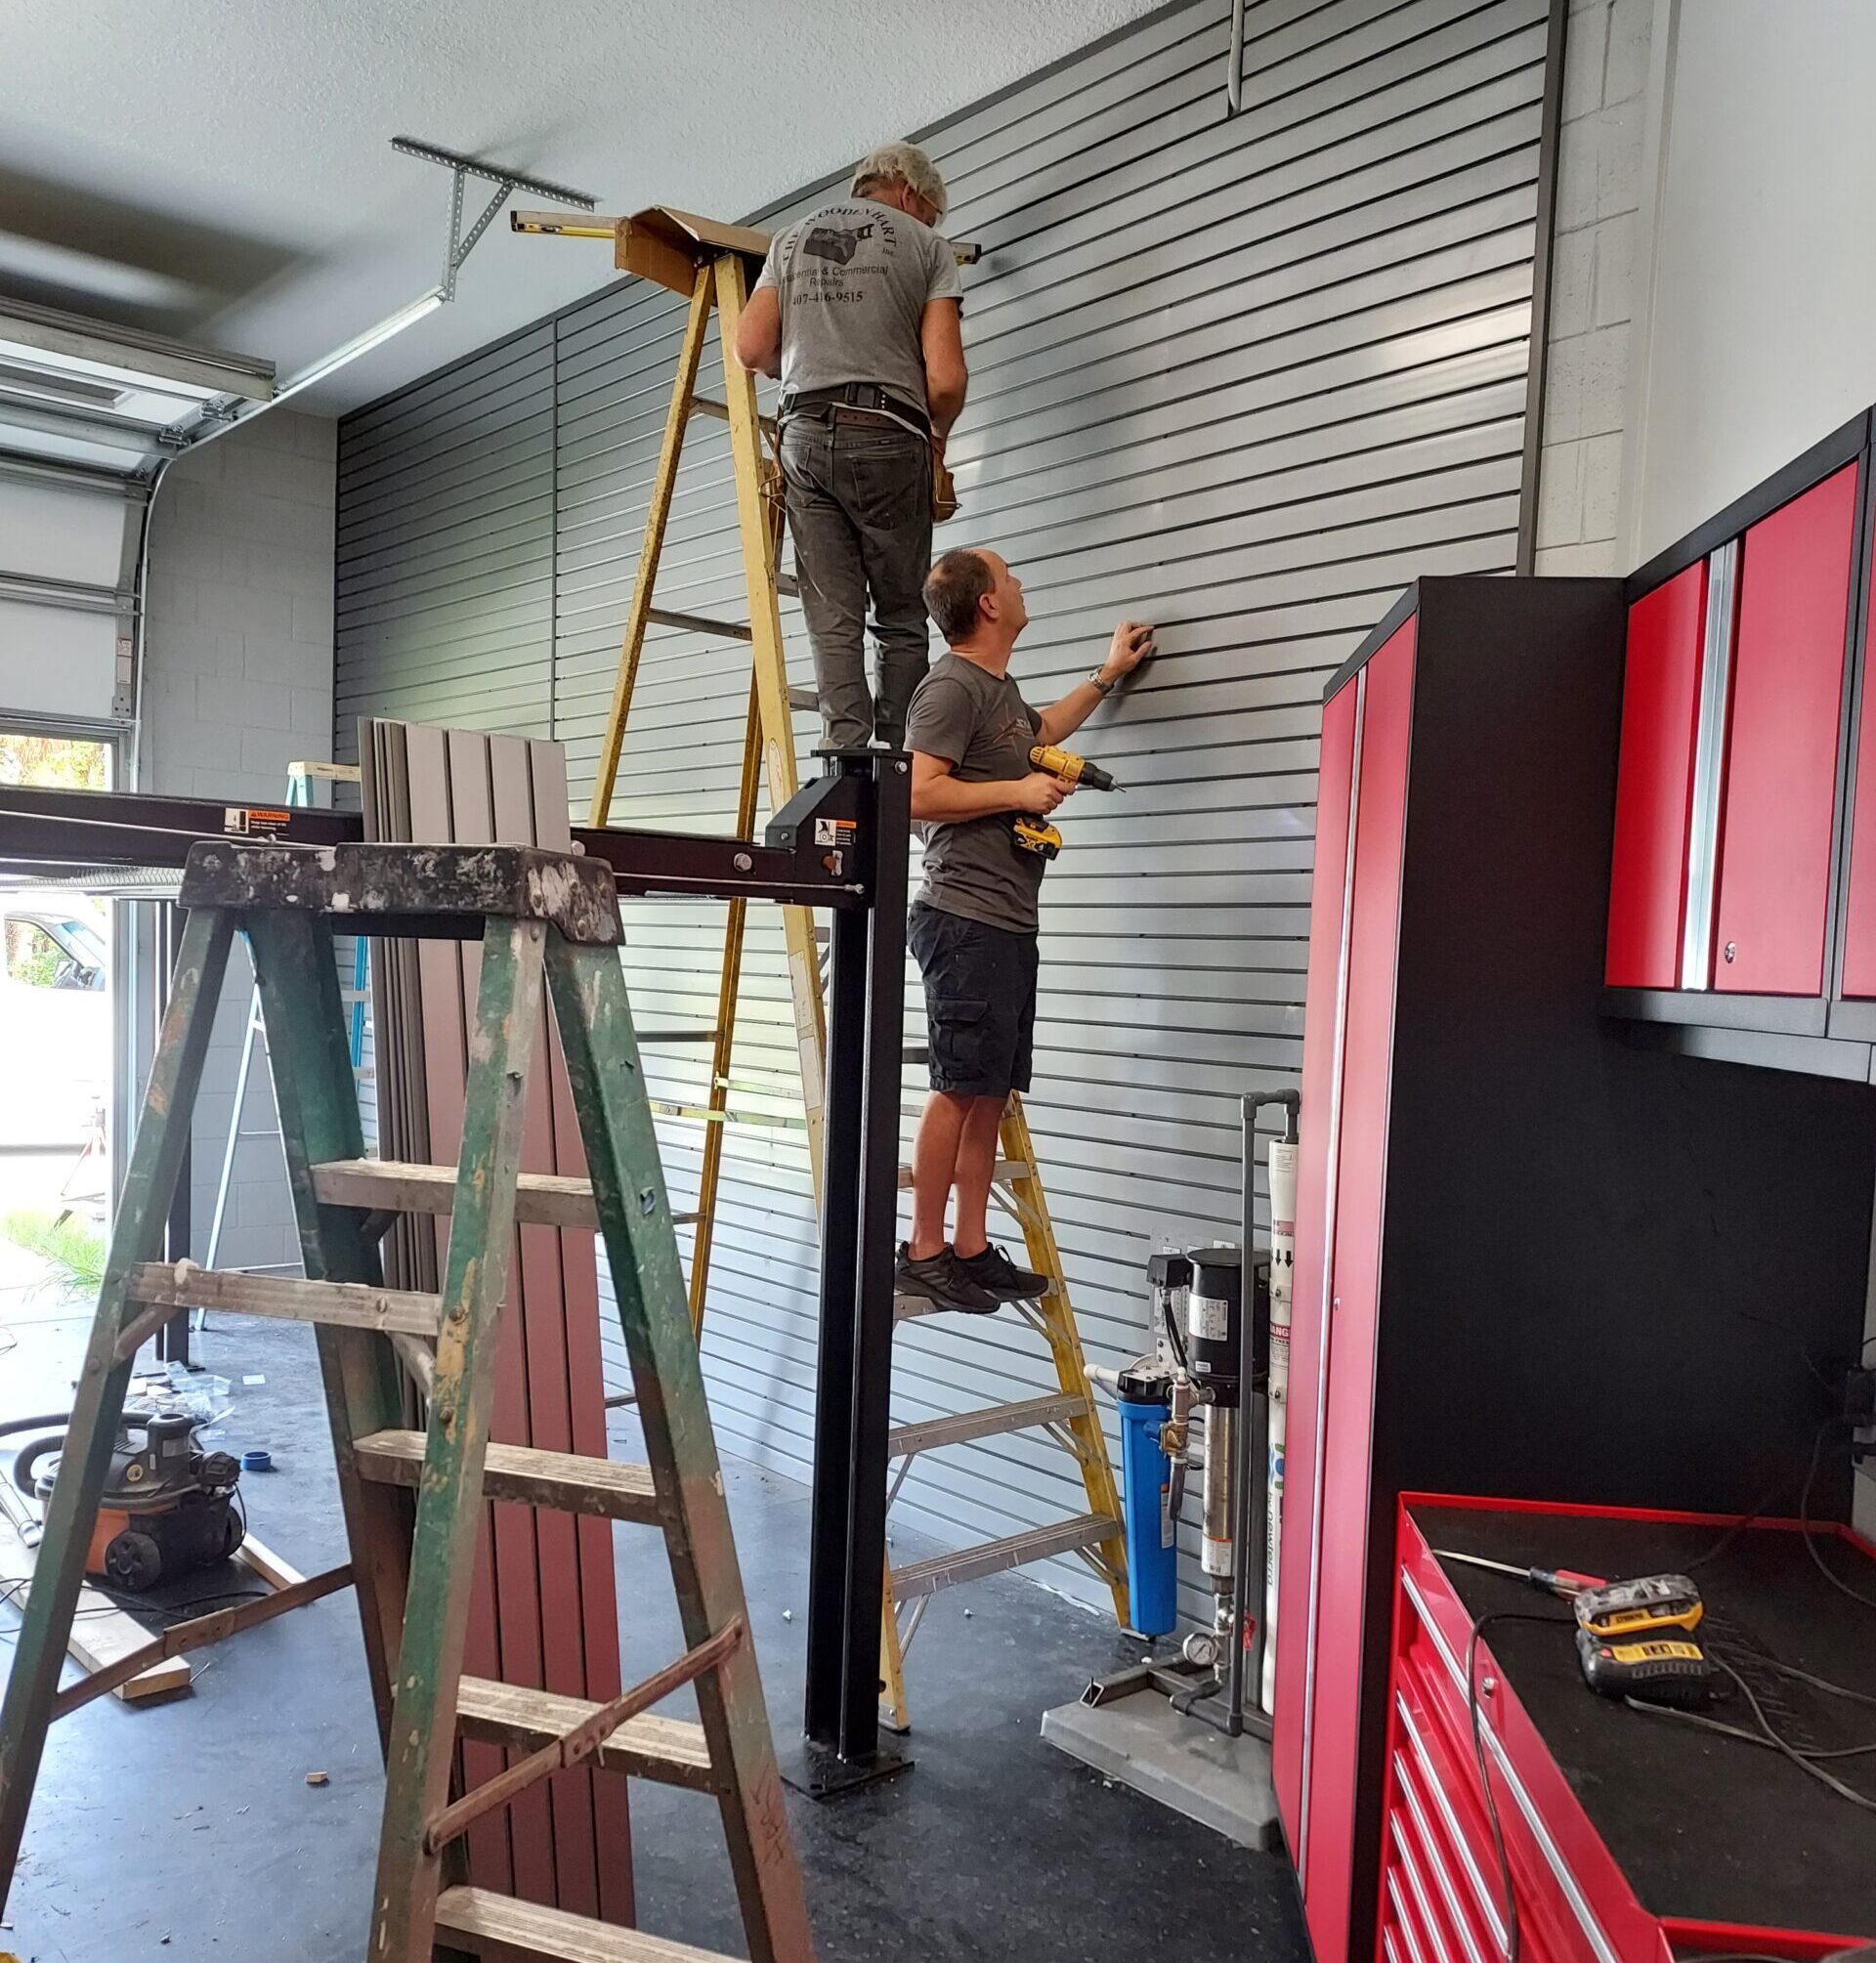
Once the cabinets were in place, we put up the slat wall. My garage was block, so we went with Tapcons, lots of Tapcons, and attached it directly to the walls. If you are going into drywall/studs, the hardware is included.
Step 5 – Put Everything Back, But Better:
Finally, it was time to organize and put away the car parts and “keeper” tools. This was my favorite part. I bought organizers and shelf liners as well as a wide variety of hooks and clips for the slat wall. I even found a mesh basket to hold the used detail towels. It’ll take some time to re-learn where things live now, but I finally have a dream garage to rival any magazine or TV show. Plus it was half of what the “pros” quoted. First order of business… change the oil in the mini-van.


